Buy Celer Network (CELR) with USD, EUR and Other Fiat Currencies
Buying Celer Network (CELR) with fiat usually means using a wallet or exchange that supports card payments (or Apple Pay / Google Pay where available), then swapping into CELR if it’s not offered directly.
Quick note: market data (price, market cap, availability by region) changes fast. Always verify the ticker and the token network before you confirm a purchase.
This article was prepared by ilink, a FinTech and Web3 software developer with 13+ years of experience and completed projects worldwide.
What is Celer Network (CELR)?
Celer Network is a blockchain infrastructure project focused on making apps work across multiple chains more smoothly, for value transfer and cross-chain interactions.
A core product is cBridge, which Celer describes as a decentralized, non-custodial bridge supporting token transfers across “40+ blockchains and layer-2 rollups.” Celer also states cBridge has processed “more than $14B” in cross-chain volume for “more than 540K unique users.”
Binance Research similarly describes cBridge as a “decentralized and non-custodial asset bridge,” and notes it supports “130+ tokens across 30+ blockchains and layer-2 rollups” (counts can change as integrations expand).
A Bit of History
Celer Network was founded in 2018 by a team of engineers with PhDs in computer science, according to CoinMarketCap’s project description.
What the CELR token is used for
CELR is the protocol token for Celer Network. Celer explains that CELR is used as a staking token in the State Guardian Network (SGN) to help secure Celer Inter-chain Messaging (Celer IM).
If you prefer a plain explanation: CELR is part of the incentive and security design, staking helps secure cross-chain services, and fees reward validators and delegators who maintain that infrastructure.
Where Can I Buy Celer Network (CELR) With Cash: 10 Best Crypto Wallets
In practice, “buy with cash” usually means buying with fiat via:
- Apple Pay / Google Pay;
- Credit/debit card;
- Bank transfer (availability varies);
- In-app on-ramp providers.
Some wallets let you buy OCEAN directly. Others help you buy ETH/USDT first, then swap to OCEAN inside the wallet.
Below are popular wallet options that can be used to obtain and store OCEAN (directly or via swap). Always verify token contract details inside the wallet (especially after token migrations or exchange re-listings).
1. Walletverse
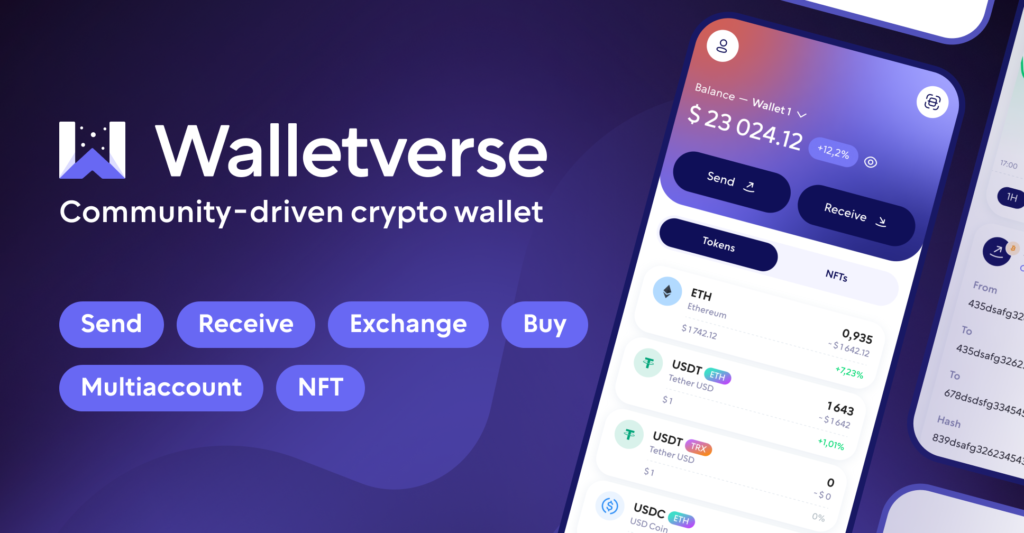
Walletverse is a self-custody mobile wallet built for everyday buying, swapping, and storing crypto, with Web3 and DeFi access in one app. It supports 700+ cryptocurrencies, offers multi-account management, and is available on Google Play and the App Store.
It also includes a GasFree USDT feature for TRON that lets users pay fees in USDT instead of holding TRX (helpful for beginners who get stuck on “gas”).
Pros:
- Self-custody (private keys remain with the user/device).
- Buy crypto via Apple Pay, Google Pay, and bank cards through integrated providers (availability varies by region).
- Built-in swap flow to convert from common assets (like ETH/USDT) into CELR when direct purchase isn’t available.
- High user ratings shown in app listings (and referenced by Walletverse materials).
Cons:
- Mobile-only (no native desktop wallet).

2. Trust Wallet
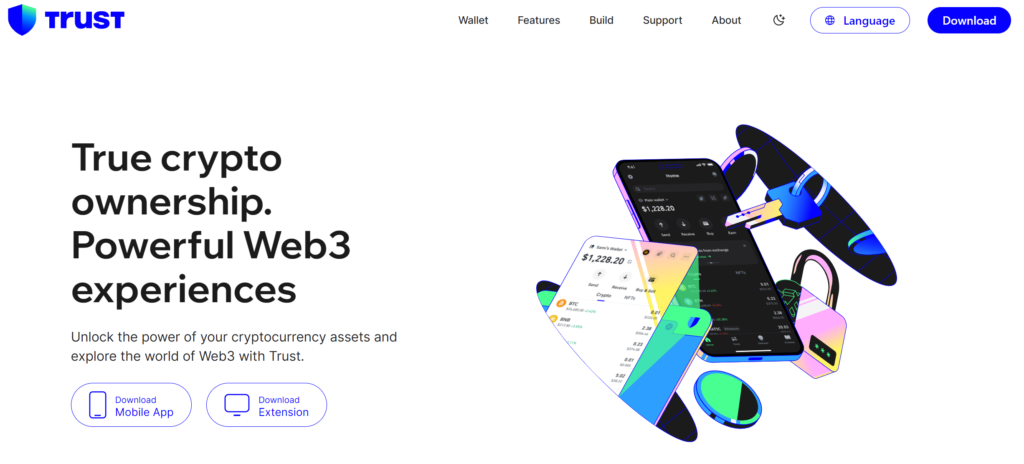
A multi-chain mobile wallet often used for buying crypto via partners and swapping.
Pros:
- Broad chain/token support
- Convenient for mobile-first users
Cons:
- Fees depend on third-party providers
- Some tokens require manual add/search
3. Coinbase Wallet

A self-custody wallet separate from the Coinbase exchange app, commonly used to hold and swap ERC-20 tokens.
Pros:
- Beginner-friendly onboarding
- Smooth dApp connections
Cons:
- Direct CELR purchase availability varies by region
- Swaps can include routing fees/spreads
4. TokenPocket

A multi-chain wallet used for DeFi access and token storage across ecosystems.
Pros:
- Wide network coverage
- Useful for multi-chain users
Cons:
- UX differs by chain and feature
- Fiat purchase options depend on providers
5. Binance Web3 Wallet
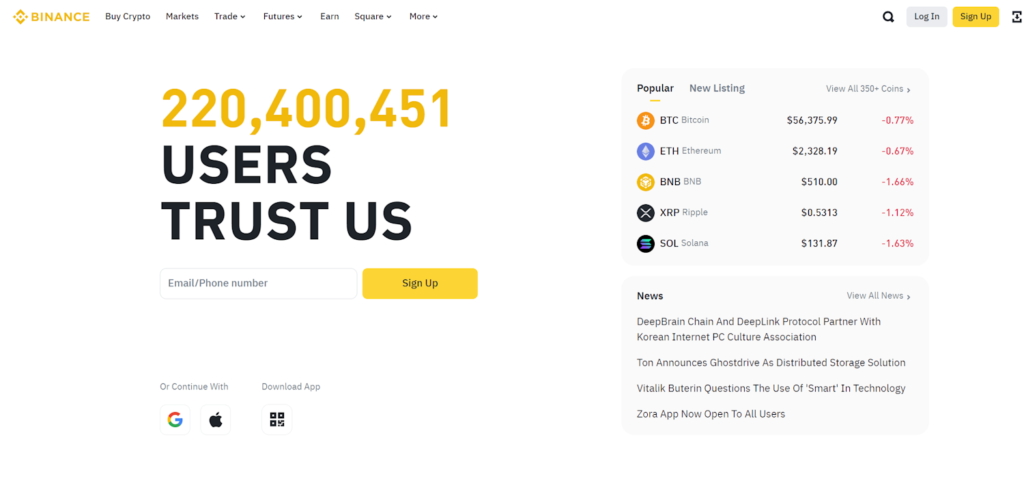
Convenient if you already use Binance and want to move between exchange and Web3.
Pros:
- Easy bridge between CEX funds and Web3 usage
- Good for users already in the Binance ecosystem
Cons:
- Region restrictions can apply
- Still requires careful token/network verification
6. Ledger (hardware wallet)
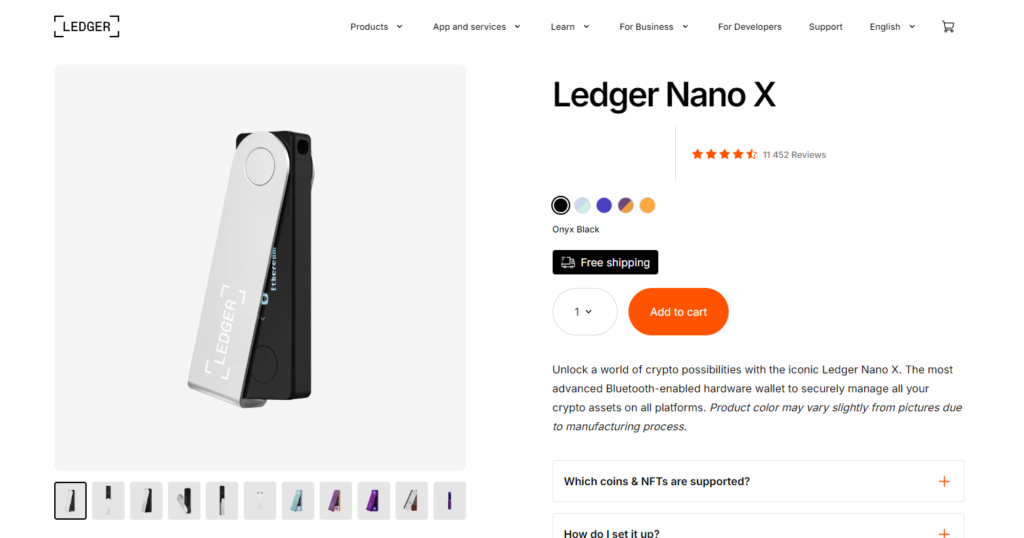
Often used for long-term storage after buying CELR on an exchange or via a wallet on-ramp.
Pros:
- Strong long-term security model
- Reduces hot-wallet risk
Cons:
- Device cost
- Requires careful seed phrase handling
7. MetaMask
A popular Ethereum/EVM wallet used to buy ETH via on-ramps and swap to ERC-20 tokens like CELR.
Pros:
- Strong support for Ethereum tokens and DeFi swaps
- Huge dApp ecosystem
Cons:
- Gas and approvals can confuse beginners
- You must manually verify token contract details
8. SafePal
A wallet ecosystem with both software wallet options and hardware integrations.
Pros:
- Security-oriented ecosystem
- Useful upgrade path to hardware custody
Cons:
- Hardware is an added cost
- Some features depend on region/providers
9. Exodus
A user-friendly wallet known for clean UI on desktop and mobile.
Pros:
- Very simple experience for holding and basic swaps
- Desktop + mobile support
Cons:
- Swap spreads may be higher than advanced DeFi routing
- ERC-20 transactions depend on network fees
10. OKX Wallet

A multi-chain Web3 wallet with strong swap and DeFi tooling.
Pros:
- Multi-chain with advanced features
- Often good swap routing
Cons:
- Some features vary by region
- Interface can feel “pro” for new users
Buy CELR with Apple Pay
If your wallet supports Apple Pay via an on-ramp partner, the typical flow looks like this:
- Install a wallet that offers Apple Pay purchases (availability depends on your region and provider).
- Create a wallet and back up your recovery phrase offline.
- Open Buy / Add funds and choose Apple Pay.
- If CELR is offered directly, buy CELR. If not, buy ETH or USDT first.
- Use the wallet’s swap feature to convert ETH/USDT to CELR.
- Confirm the network and token details before finalizing.
Walletverse supports Apple Pay purchases via integrated on-ramps as described in its materials and app listing.
Buy CELR with Google Pay
Google Pay purchases are similar:
- Choose a wallet that supports Google Pay through an on-ramp provider (country-dependent).
- Complete KYC if the provider requires it.
- Buy CELR directly, or buy ETH/USDT and swap into CELR.
- Store CELR in your self-custody wallet, or move it to a hardware wallet for long-term holding.
Walletverse supports Google Pay purchases via integrated providers as described in its materials.
How to buy Celer Network (CELR) with fiat (step-by-step)
- Choose your route
- Wallet route: buy with card/Apple Pay/Google Pay, then swap to CELR if needed.
- Exchange route: buy on a centralized exchange with fiat, then withdraw CELR to your wallet.
- Create a self-custody wallet
- Back up the recovery phrase offline.
- Back up the recovery phrase offline.
- Buy a “base” asset with fiat
- ETH or USDT is often the easiest base for swapping into CELR.
- ETH or USDT is often the easiest base for swapping into CELR.
- Swap into CELR
- Use the wallet’s built-in swap or a DEX connection.
- Use the wallet’s built-in swap or a DEX connection.
- Secure storage
- For larger amounts, consider moving CELR to a hardware wallet.
- For larger amounts, consider moving CELR to a hardware wallet.
- Review total cost
- Look at: on-ramp fees + swap spread/fee + network fee.
- Look at: on-ramp fees + swap spread/fee + network fee.
Celer Network (CELR) is tied to cross-chain infrastructure used for bridging and inter-chain messaging, with cBridge described by Celer as operating across 40+ chains and having processed over $14B in cross-chain volume for 540K+ users.
If you’re buying CELR with fiat, the most reliable approach is to buy via a wallet/exchange using USD, EUR, GBP, or other supported currencies, then swap into CELR when direct purchase isn’t available.
Data current as of January 26, 2026.
FAQ
Most frequent questions and answers
It depends on your goals and risk tolerance. CELR’s value is tied to Celer’s infrastructure usage (bridging and cross-chain messaging). Consider adoption metrics (like cBridge usage stats), token supply dynamics, and the overall risk of crypto markets. This is not financial advice.
A common path:
- Buy ETH or USDT with USD via card/Apple Pay/Google Pay (where available).
- Swap ETH/USDT to CELR inside your wallet.
- Store CELR in your self-custody wallet.
In Walletverse, users typically buy crypto via integrated payment providers and then swap in-app if needed.
Most wallets that support Ethereum/EVM tokens can store CELR (and some support bridged versions on other networks). Examples include Walletverse, MetaMask, Trust Wallet, Coinbase Wallet, and hardware wallets like Ledger.
You can buy CELR through:
- Wallets with fiat on-ramps + swap (for example Walletverse);
- Exchanges that list CELR;
- Decentralized swaps (swap from ETH/USDT).
Always verify the network and token contract details before purchasing or withdrawing.
Usually, the cheapest route is the one with the lowest combined:
- Fiat on-ramp fees;
- Swap spread/fee;
- Network fees.
A practical approach is to compare two options: (1) direct CELR purchase (if available) vs (2) buying ETH/USDT and swapping to CELR, then choose the lower total cost at checkout.


